Animated Cursors for Screen Recordings (macOS, Windows, Touch)
How to get a smooth, oversized, restyled cursor in a screen recording after you record: choose a macOS, Windows, or touch pointer, smooth the path, add click ripples and spring, and hide it when idle.
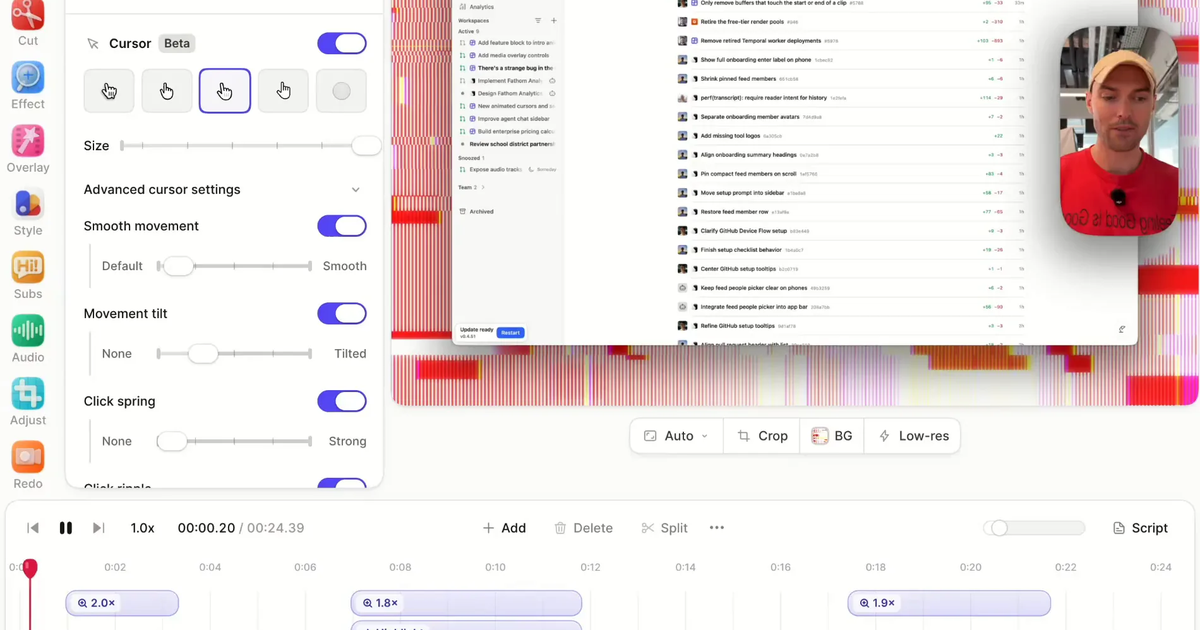
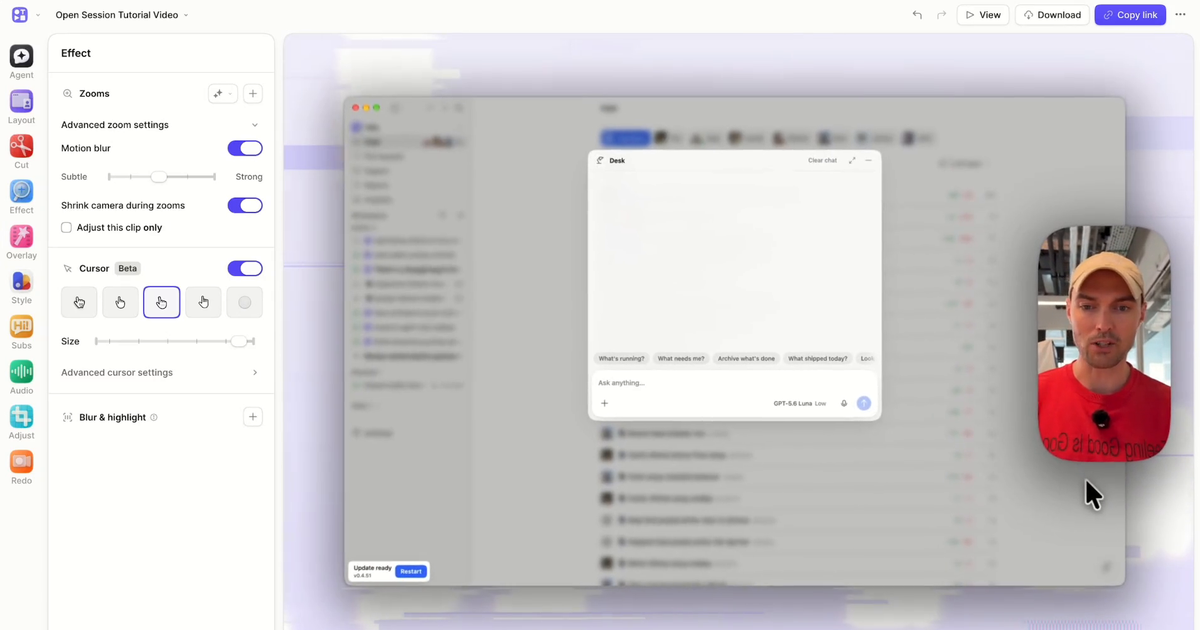
A large, smooth cursor in a screen recording is an editing step in Tella, not something you set up before recording. Record with the Tella Mac or Windows app using the Animated cursor mode, open the video, press E, turn on Cursor, and pick a style: macOS Sequoia, macOS Tahoe, macOS Golden Gate, Windows, or Touch. Then set the size, smooth the movement, and add a click ripple. Tella redraws the pointer from recorded mouse data, so all of this can be changed after you've filmed.
This post covers what the animated cursor does, why it needs a particular recording mode, and which settings produce which look.
Why the raw cursor looks bad
The system pointer is sized for a monitor, not a phone screen. Mouse input is jittery. Clicks are invisible. Viewers spend the first second of every action working out where you clicked.
Cursor-highlighter apps that draw a circle around the pointer fix the last problem, but the circle is recorded into the video. Pick the wrong colour and you record again.
Tella records the cursor as data instead: where it was and when it clicked, sampled continuously and stored next to the screen video rather than inside it. The editor draws a pointer on top of the footage from that data, so style, size, and motion are decisions you make afterwards.
Step 1: Record with the right cursor mode
The desktop apps have a cursor control in the recorder with three modes:
- Animated cursor: captures pointer movement separately and adds a smooth, editable cursor to the video automatically. Use this by default.
- Hide cursor: keeps the pointer out of the screen video while still capturing its movement, so you can add the animated cursor later or leave it off.
- Show cursor: records the system pointer into the screen video. Use it only when you want the original cursor exactly as it appeared. It can't be restyled or removed afterwards, and the editor hides the Cursor settings for that recording.
Pick Animated cursor or Hide cursor, then record as usual. Both the Mac and Windows apps capture cursor data for any screen recording. The Chrome extension captures it for browser tabs, which is enough for Auto Zoom but not for restyling the pointer.
Step 2: Turn on the animated cursor
- Open the recording in the editor.
- Click Effect in the sidebar, or press
E. - In Cursor, turn on Cursor.
A new video starts at 2× size with Movement tilt and Click spring off, unless you've previously set video-wide cursor settings, in which case it reuses those.
Step 3: Choose a style and size
Cursor style has five pointers:
| Style | What it is | Use it when |
|---|---|---|
| macOS Sequoia | The macOS arrow as it looks in Sequoia | Default for most demos; reads well on light and dark UI |
| macOS Tahoe | The macOS arrow as it looks in Tahoe | You want the pointer to match the latest Mac look |
| macOS Golden Gate | An alternative macOS arrow style | You want a different Mac pointer |
| Windows | The Windows arrow | Recording Windows software for a Windows audience |
| Touch | A touch-style pointer | Mobile or tablet demos, or when taps read better than clicks |
The style is independent of the operating system you recorded on. A Windows recording can use a macOS cursor and vice versa, which is how a Windows recording can look like a Mac demo.
Size is a slider. 2× is a good default for a full-screen recording watched on a laptop. Go to 2.5× or 3× for social clips watched on a phone, and down to about 1.5× if you're zooming deep into a UI where a big pointer would cover the thing you're pointing at.
Step 4: Tune the motion
Expand Advanced cursor settings:
- Smooth movement softens the recorded path. Raw mouse data has tiny corrections in every move; smoothing turns them into one glide. The strength is adjustable. Push it up for slow, narrated tutorials; pull it back for fast demos where you want the pointer to feel responsive.
- Movement tilt leans the cursor slightly as it moves horizontally. It's subtle and off by default; turn it on for launch-style clips.
- Click spring shrinks the cursor on each click and springs it back. Off by default.
- Click ripple draws a ripple around each click, with an adjustable size. Viewers see where the click happened without you saying "and I click here."
- Hide when inactive fades the cursor out when it stops moving and brings it back when it moves again. Turn it on for talking-head sections where the pointer would otherwise sit in the middle of a slide.
If you use motion blur for zooms, it applies to cursor movement too.
Step 5: Combine with zooms
Auto Zoom and the animated cursor read the same recorded mouse data but do different jobs: Auto Zoom moves the frame to follow the pointer, and Cursor controls how the pointer looks. Generate zooms, turn on the cursor, then set Shrink camera during zooms if you have a camera bubble so nothing covers the detail.
When a zoom is deep (250% or more), reduce the cursor size or turn on Hide when inactive. A big cursor inside a tight zoom can hide the label you're zooming into.
One clip or the whole video
Cursor settings apply across the video by default. Turning on Cursor enables it on the selected clip and on eligible clips that already have zooms; Tella skips clips recorded with Show cursor because their pointer is already in the footage.
To style only the current clip, expand Advanced zoom settings under Zooms, turn on Adjust this clip, then change the cursor settings. Turn it off to return the clip to the video-wide styling.
Video-wide cursor settings also become the starting point for your next Mac or Windows recording made with Animated cursor: size, smoothing, tilt, click effects, and visibility carry over, and Tella picks the cursor style that matches the operating system you record on.
Presets
Product demo for a landing page (30 to 60 seconds)
- Style: macOS Sequoia, size 2.5×
- Smooth movement on, medium-high
- Movement tilt on, click spring on, click ripple on
- Animation style: Snappy
Software tutorial (5 to 20 minutes)
- Style: match the OS you're teaching (Windows for Windows software), size 2×
- Smooth movement on, medium
- Click ripple on, click spring off, tilt off
- Hide when inactive on
- Animation style: Gentle
Mobile or tablet walkthrough
- Style: Touch, size 2×
- Smooth movement on, high
- Click ripple on with a larger ripple
Troubleshooting
- The Cursor section is missing. The recording was made with Show cursor, with the Chrome extension, with the web recorder, or it was uploaded. Only Mac and Windows app recordings made with Animated cursor or Hide cursor can be restyled.
- The cursor moves but nothing happens on clicks. Turn on Click ripple or Click spring in Advanced cursor settings; both are off unless you enabled them previously.
- The cursor jumps at the start of a clip. Tella returns the cursor to its starting position at the end of a loop, so on a looping embed the pointer glides back rather than snapping. On a non-looping video, trim the first half-second if the pointer was still moving when you hit record.
- Two cursors are visible. The clip was recorded with Show cursor and a cursor effect was applied from another clip's video-wide setting. Turn off Cursor on that clip, or re-record it with Animated cursor.
Related reading
- Screen effects in Tella: zooms, cursors, blur, and highlight together.
- How to add zooms to your screen recording after you record
- How to change your cursor on Mac: system-level pointer settings, for when you want the original cursor recorded.
- Customize the animated cursor: the help center reference.
Start a free Tella trial and record with the Animated cursor mode on your next demo.