How to Match Brand Colors Across Camera and Screen Recordings
Keep a consistent, on-brand look across every clip of a screen recording: leave product UI colors accurate, correct the camera's white balance, apply one filter across clips, and share a LUT with your team.
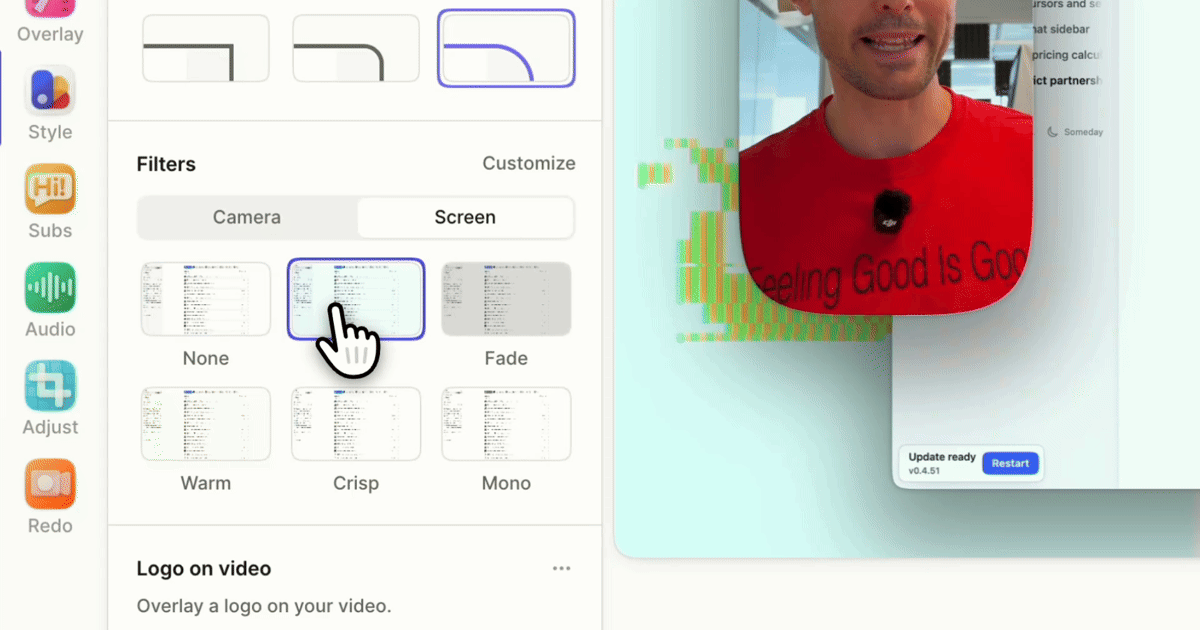
Matching brand colors in a screen recording comes down to two rules. Leave the screen's colors accurate, because that's where your brand already is. Then give the camera one consistent, neutral look across every clip. In the Tella editor, press B for Style, set the Screen filter to None or Crisp, and correct the Camera filter once. It applies to every camera clip in the video. For consistency across videos and teammates, reuse the same LUT at the same intensity.
Below: where brand color shows up in a video, the order to set things in, and how to keep a team's videos looking the same.
Where does brand color come from in a video?
A product video has four places color comes from, and each is controlled somewhere different:
| Layer | Where you set it |
|---|---|
| Product UI on screen | Your product. Keep it accurate. |
| Background, frame, and logo | Style in the editor; workspace defaults in Settings → Branding |
| View page (the page around the player) | Settings → Branding → view page theme and brand color |
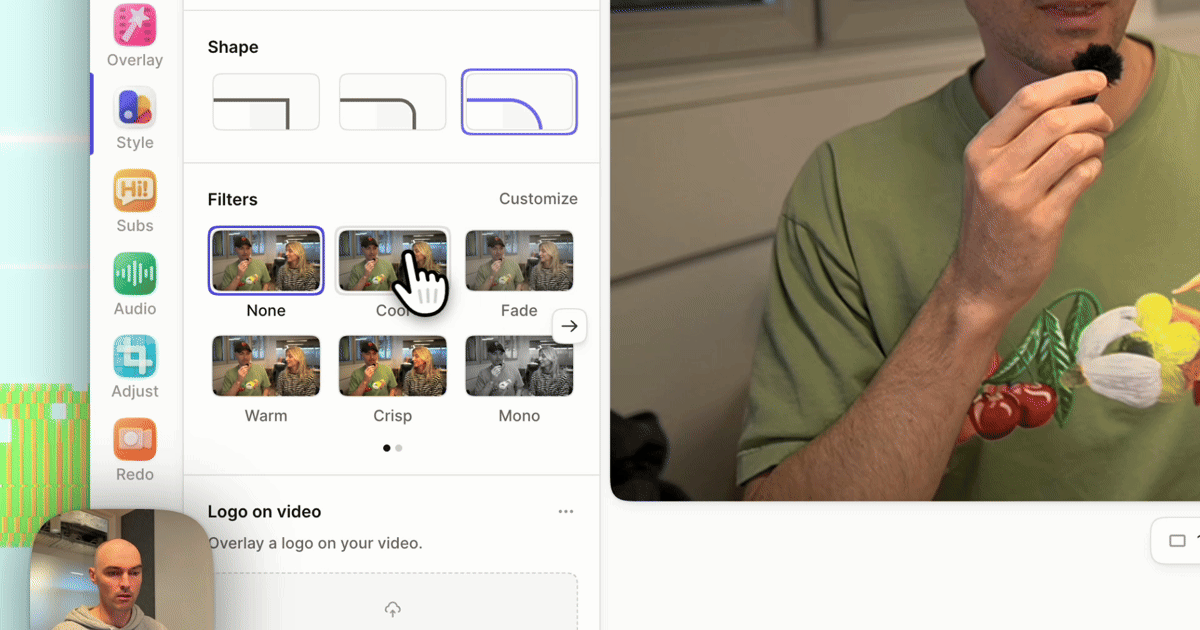
| Camera look | Style → Filters → Camera |
Filters only touch the recording itself: camera, screen, and added media. Brand color on the page and frame comes from branding settings, which workspace owners set once for everyone.
Rule 1: Don't grade the screen away from the brand
Your UI is already on brand. A filter that shifts temperature or tint shifts every hex value on screen, including your primary button and logo. Most LUTs shift hue too.
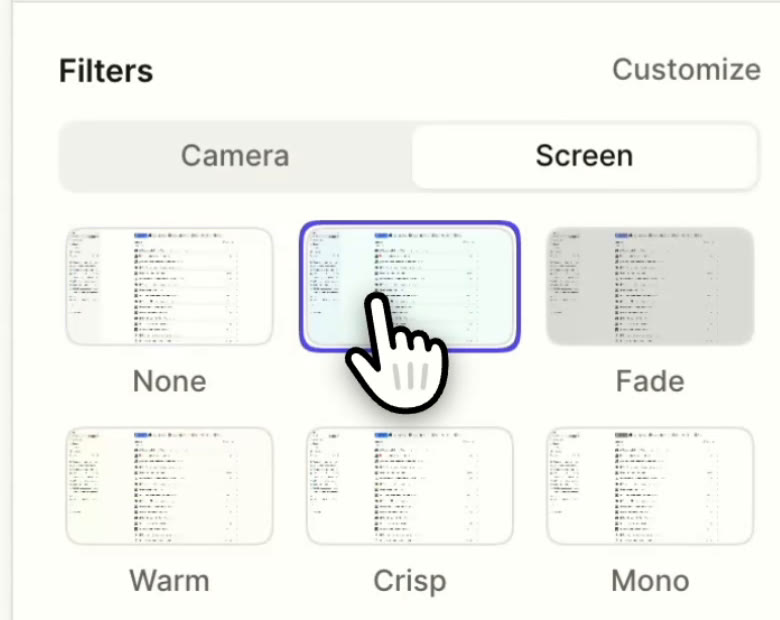
- None keeps the screen pixel-accurate. Use it for anything where the UI must match the product exactly.
- Crisp raises contrast and saturation without moving hue. Use it when a recording looks washed out next to the live app.
- Avoid Warm, Cool, Fade, Mono, and LUTs on the screen unless the effect is the point.
Rule 2: Neutralize the camera, or use one LUT
A webcam's white balance changes with the room, the time of day, and the monitor glow on your face. To make the camera neutral:
- Select a clip, press
B, choose Camera under Filters, and click Customize. - Under Advanced, move Temperature until something white in the frame (a wall, a shirt) looks white, not blue or orange.
- Adjust Tint if there's a green cast from fluorescent or LED lights.
- Set Exposure so skin looks natural.
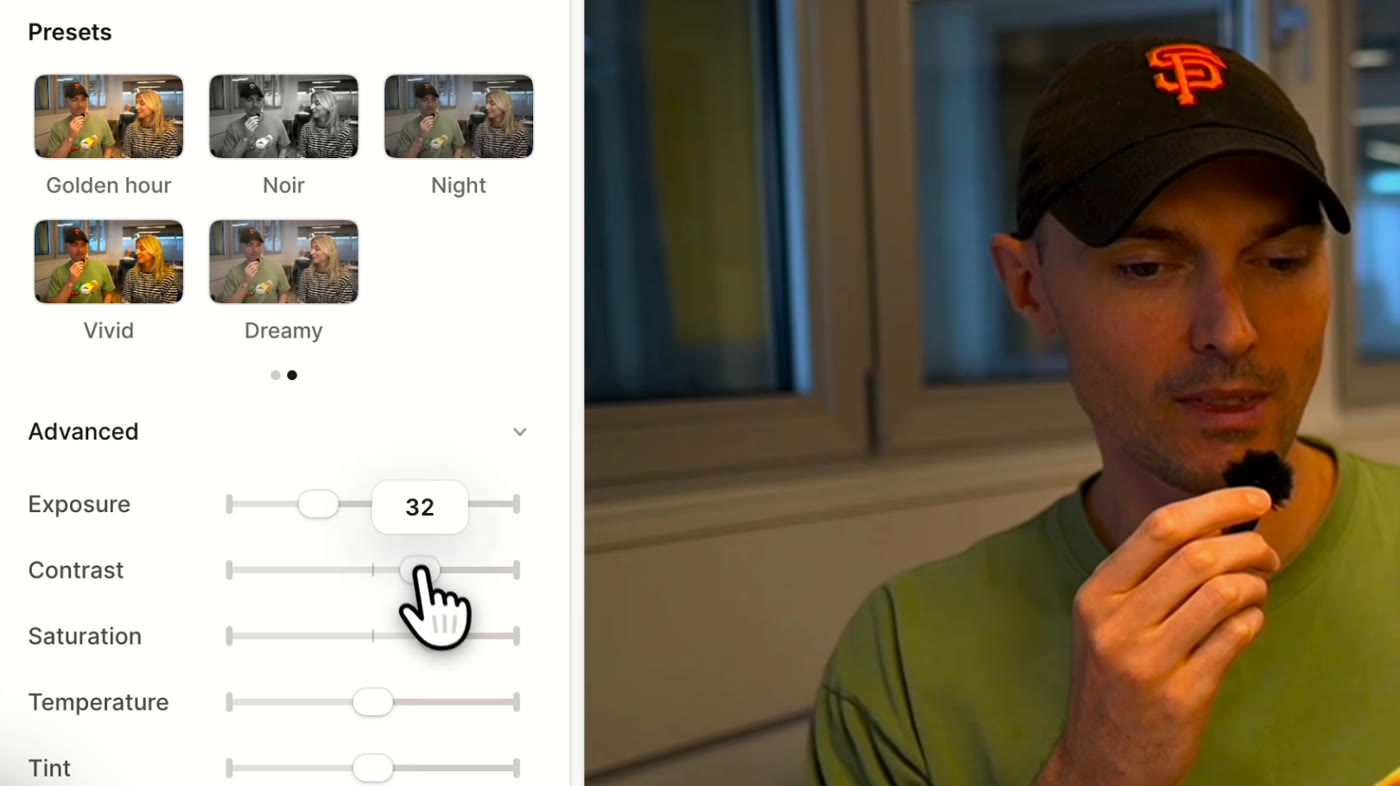
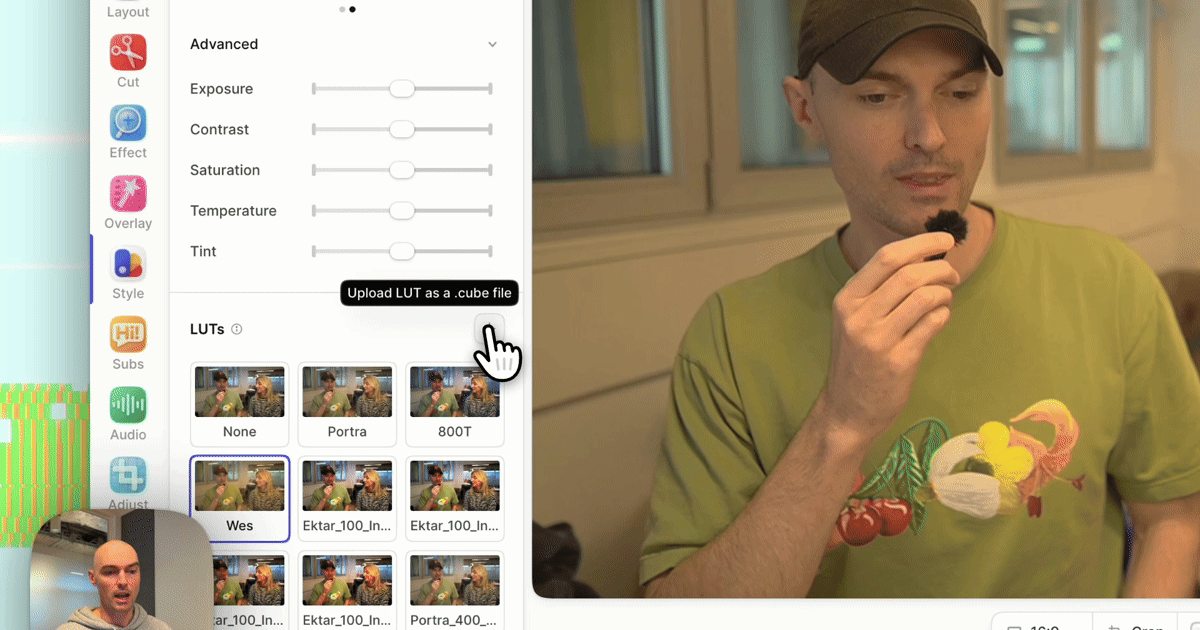
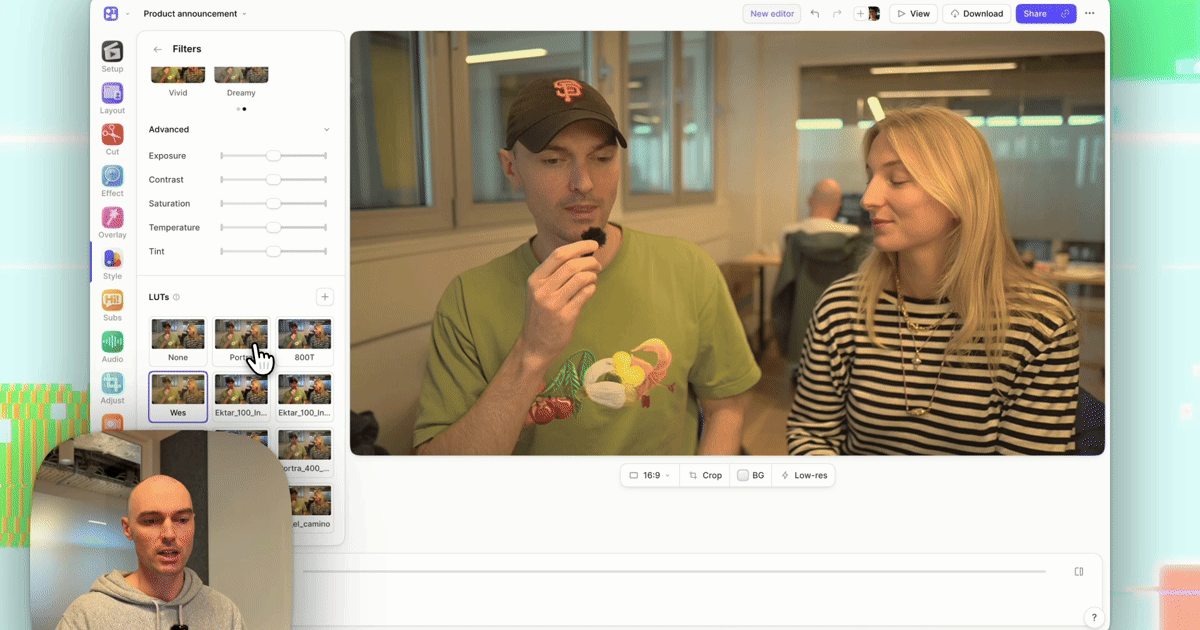
If you'd rather use a brand LUT (Rule 4), apply it instead of these corrections. In the editor, a LUT and the Advanced sliders don't stack: choosing a LUT (or a preset) resets the sliders, and moving a slider removes the LUT.
A neutral camera sits next to any brand palette without clashing. A blue-tinted face next to a warm orange brand background is what makes videos look off even when viewers can't say why.
Rule 3: One look across every clip
By default, a filter applies to the same kind of recording across clips. Set the camera filter on one clip and every camera clip in the video gets it. The same goes for the screen.
When one clip was recorded in different light, select it and check Apply to this clip in the Filters panel. Correct it until it matches its neighbours, then play across the cut to compare. Leave the box checked: unchecking it copies that clip's filter to every matching clip, overwriting the shared one.
Filters on media you add to a clip, like b-roll or an image, affect that media only, so a stock clip's look can be adjusted without changing your camera.
Rule 4: The same look on every video
Filters are set per video. To make a series of videos match:
- Use a LUT rather than slider values. A LUT is saved to your media library, so it's one click on the next video. Use the same LUT intensity each time.
- Keep your recording setup fixed. The same light in the same place means the same correction works each time.
- Share the LUT with your team. LUTs saved to the workspace library appear in everyone's LUTs grid. With the Tella API or MCP server, upload the
.cubefile withcreate_source(kind: 'lut') and save it withadd_library_itemusingscope: 'workspace'.
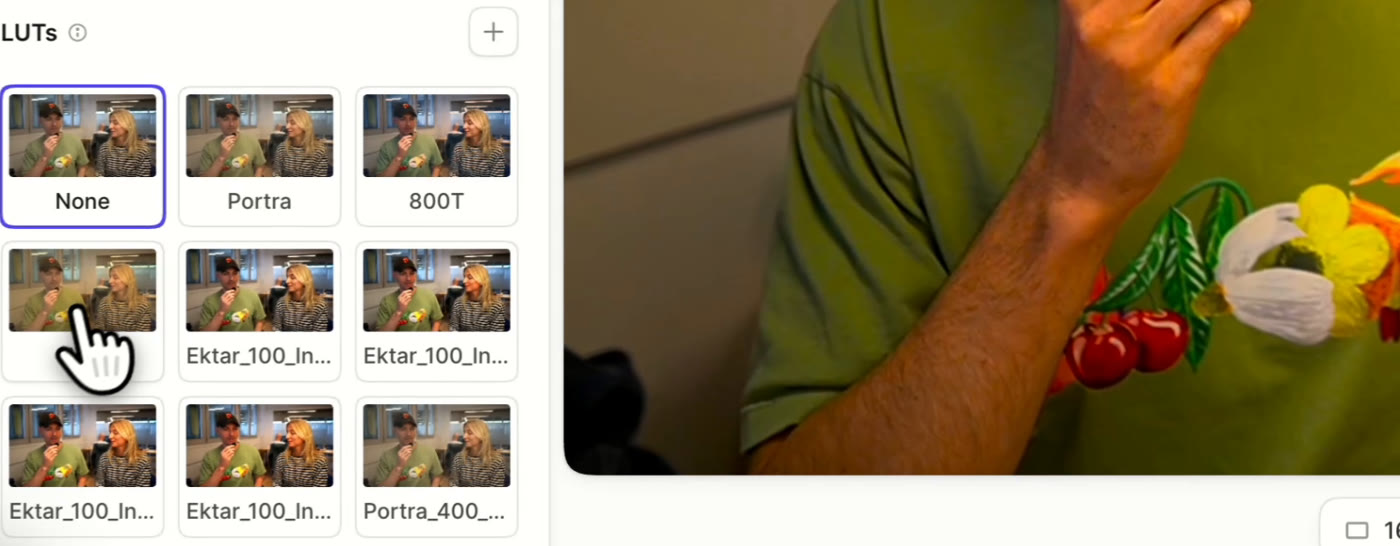
A brand LUT doesn't need to be dramatic. A slight warmth and a gentle contrast curve, applied the same way on every video, is what makes a set of videos look like they came from one company.
In what order should you set up brand colors?
- Branding settings (once, workspace owner): logo, logo on video, background, view page theme.
- Record with the same light, camera, and background each time.
- Screen filter: None or Crisp.
- Camera filter: neutralize with Temperature, Tint, and Exposure, or pick the team LUT at its standard intensity.
- Outlier clips: Apply to this clip, and correct to match.
- Play across every cut before sharing.
Then add the rest of the polish: Auto Zoom, animated cursors, and a layout that frames camera and screen together.
Related reading
- Color filters for product demos: what each preset changes.
- How to apply a .cube LUT to a screen recording.
- Customize your branding: logo, theme, and backgrounds.
Try Tella free for 7 days and make every video look like your brand.