How to Color Grade a SaaS Product Demo Without CapCut: The Full Workflow
A screen-and-camera SaaS demo, from recording to a graded, shared link, without exporting to CapCut: record, cut, zoom, grade the camera and screen separately, and share with analytics, compared step by step with the CapCut route.
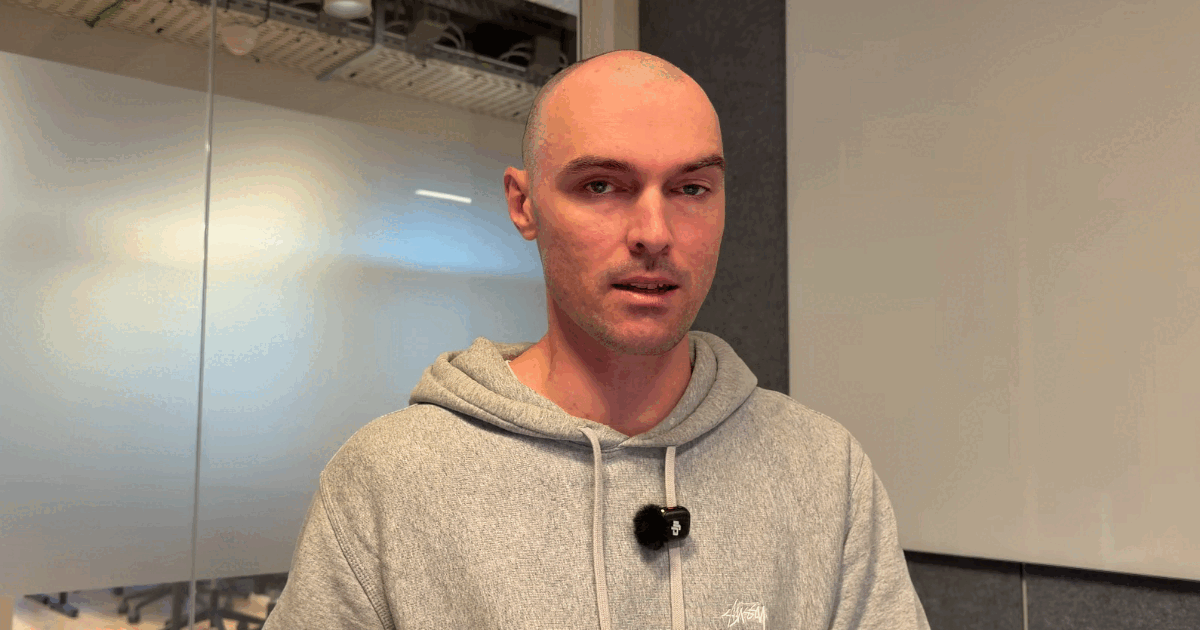
To color grade a SaaS product demo without CapCut, grade it in the tool you record and share it from. In Tella, the camera and screen are separate tracks, so under Style → Filters you put Warm or a LUT on the Camera and Crisp or None on the Screen. The grade covers every clip, and the share link plays it immediately. There's no export, re-import, or re-upload.
How to color grade your webcam without CapCut or Premiere covers the webcam on its own. This post is the whole demo: record, cut, zoom, grade, and share.
The CapCut route, and where it adds steps
People reach for CapCut because it's free and has good filters. For a hosted SaaS demo, the route looks like this:
- Record screen and camera in a screen recorder.
- Export the recording and import it into CapCut.
- Cut, add zooms, and add filters or a LUT.
- Export again.
- Upload to a video host or YouTube, and paste the link.
- For any change after sharing, repeat steps 3 to 5 and replace the link.
Two things hurt most. If your recorder saves camera and screen as one composited file, the camera bubble and your UI get the same grade unless you mask the bubble. And the link people have already opened doesn't update.
The Tella route
- Record screen and camera with the Mac app, Windows app, Chrome extension, or web recorder.
- Cut mistakes, silences, and filler words.
- Zoom on your clicks and lay out screen and camera.
- Grade the camera and screen separately.
- Share the link, which already includes every edit.
Change anything later and the same link updates.
| CapCut route | Tella route | |
|---|---|---|
| Tools | Recorder + CapCut + a host | Tella |
| Grade camera and screen separately | Only if recorded to separate files | Yes, separate tracks |
| Zooms | Added in CapCut's editor | Generated from your clicks, editable |
Custom .cube LUT | Yes | Yes, with intensity and a team library |
| Share after grading | Export, upload, new link | The existing link updates |
| Viewer analytics | Depends on the host | Views, watch time, engagement |
| Best at | Short social edits, effects, templates | Screen-and-camera demos shared by link |
Step 1: Record with separate tracks
Record the demo in Tella. The camera, screen, and mic are saved as separate tracks, which is what makes a camera-only grade possible later. Record in your usual lighting and don't fix color while recording; it's easier to change later than to undo.
Step 2: Cut first
Open the video in the editor and use Auto Cut to remove silences, filler words, and mistakes, or edit the transcript. Cut before anything else, because zooms and layouts are timed to what's left.
Step 3: Zoom and lay out
Open Effect and click Generate zooms to add zooms from your clicks, then adjust any you don't like. Use Layout to arrange screen and camera, or Auto Layouts to generate layout changes. For the camera frame, a circle keeps attention on the product; Blob or Pop-out gives the presenter more presence.
Step 4: Grade the camera and screen separately
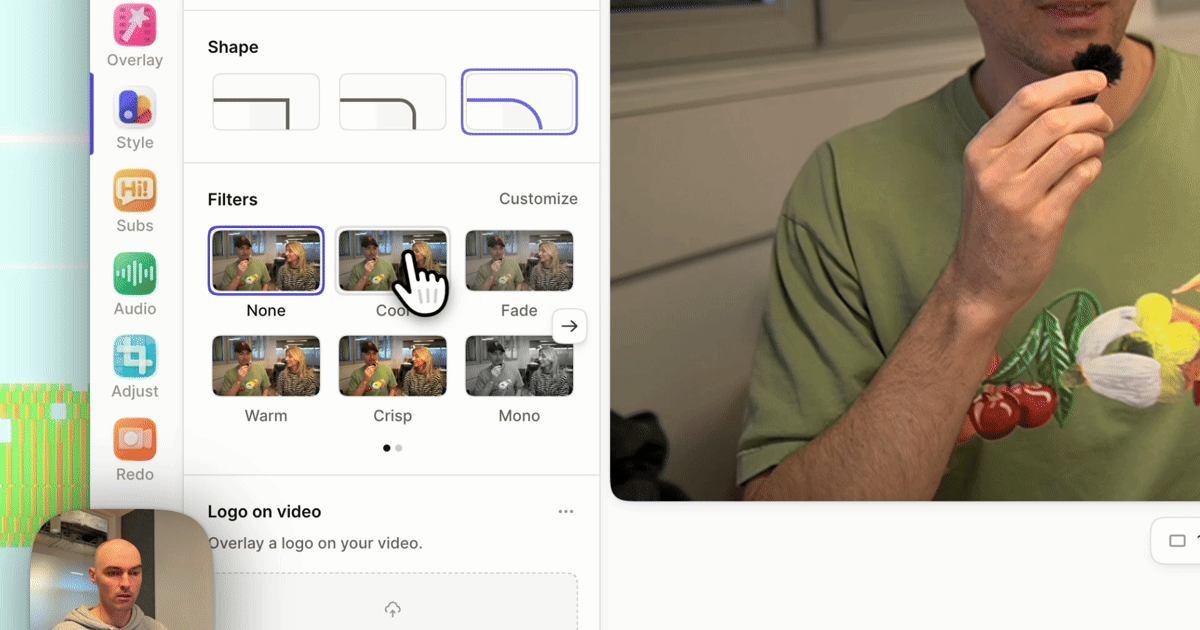
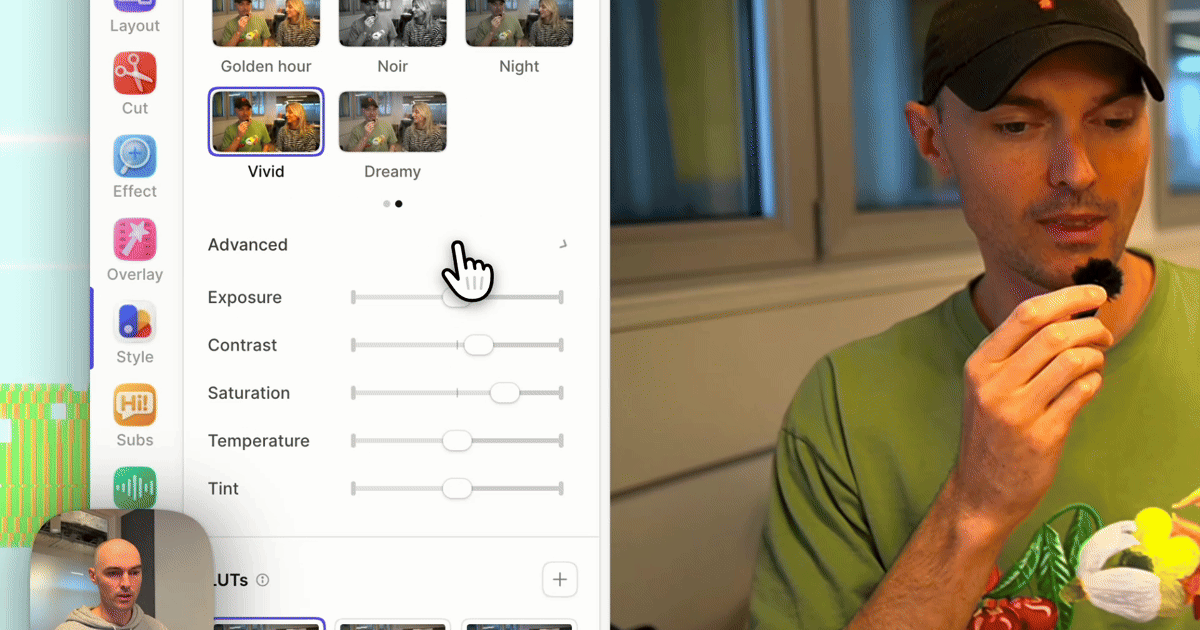
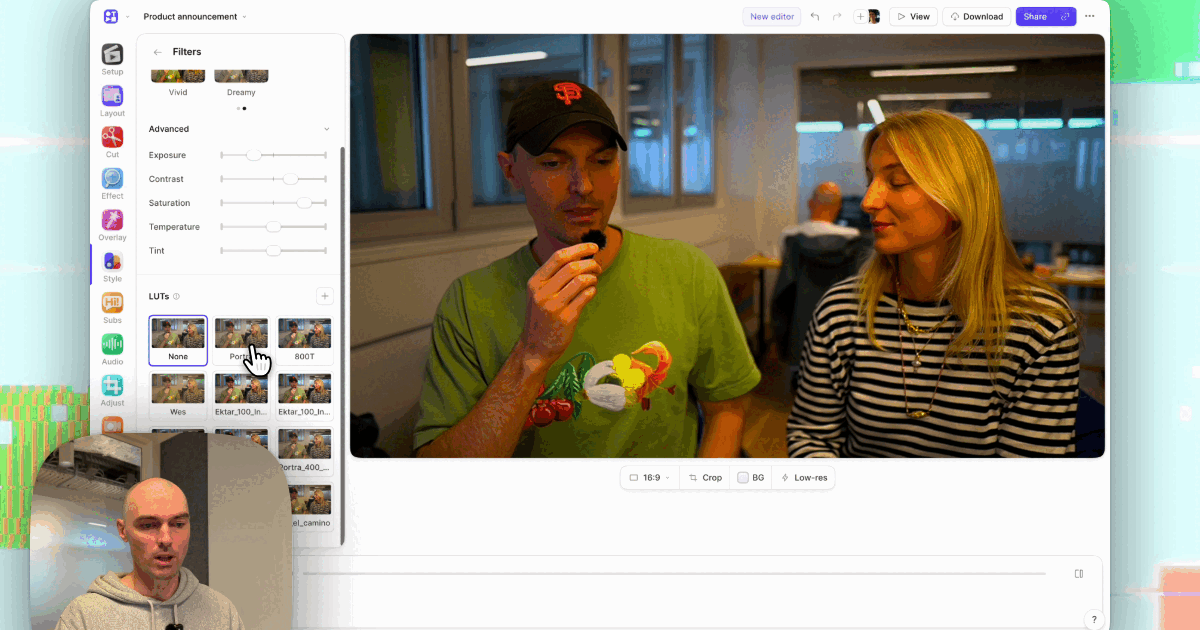
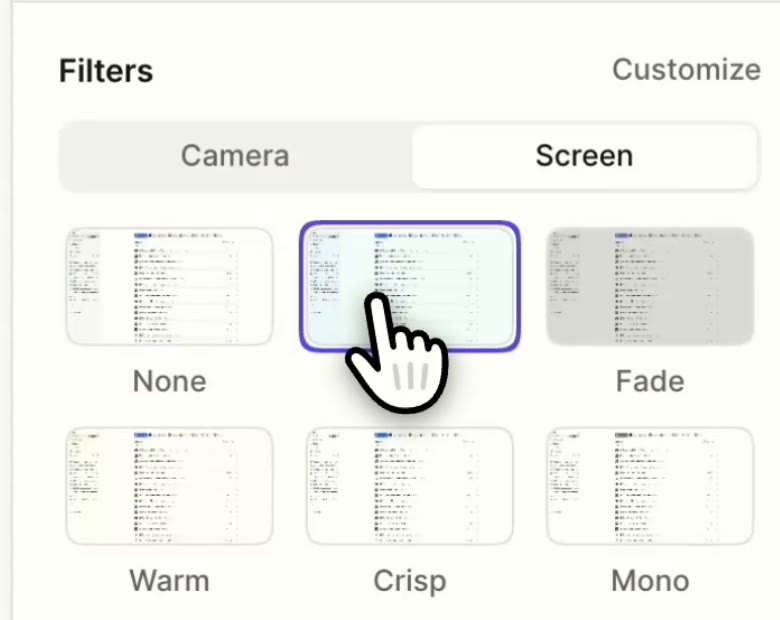
Press B for Style. Under Filters:
Camera tab: start with Warm, which corrects the blue cast of most webcams under office lighting. For a film look, click Customize and choose a LUT (the built-in Portra at around half intensity suits most faces), or upload your own .cube file.
Screen tab: use Crisp, which adds contrast and a little saturation without shifting hues, or leave it at None. Avoid Warm, Cool, Mono, Fade, and LUTs on the screen: they change your UI's brand colors, and people who use the product will notice.
The filter applies to every matching clip. For a clip recorded at a different time of day, check Apply to this clip and correct it on its own. Color filters for product demos goes through every preset.
Step 5: Check, then share
Play the video once with Filters open. Look at skin in the brightest and darkest moments, and at small text on screen. Then click Share: the link, embed, and analytics are ready, and an MP4 export in up to 4K includes the same grade.
If you tweak the grade next week, the link updates, and nobody needs a new one.
When CapCut is still the right tool
- Short social cuts with trending templates, effects, and stickers.
- Heavily stylized edits with masks and keyframed effects.
- Footage you didn't record as separate camera and screen files, where you need masks to grade the bubble.
For those, export from Tella and finish in CapCut. For a demo you share by link and update over time, keeping it in one place saves a round trip every time. See Tella vs CapCut.
Related reading
- How to apply a .cube LUT to a screen recording.
- Match brand colors across camera and screen.
- How to create a killer product demo video.
Try Tella free for 7 days and grade your next demo where you share it.